The Tenyks CLI
A walkthrough of how to get started with the Tenyks CLI
In this section, we will guide you through the process of uploading a dataset in the medical image domain.
Be aware that to run the commands in this section, you are expected to have installed the Tenyks CLI
Dataset formatFind here more details of the dataset expected format in the Tenyks Platform, or if you wish simply download the dataset and follow along.
1. Set Up
1.1 Verify you installed the Tenyks CLI
This step assumes you have previously installed the Tenyks CLI. To verify your installation simply run tenyks on your terminal
tenyks

Usage: tenyks [OPTIONS] COMMAND [ARGS]...

Options:
  --help  Show this message and exit.

Commands:
  annotation-bbox-embedding-upload
  configure
  configure-aws
...
If you obtained a similar output to the one above, you can proceed to the next step.
On the other hand, if you realize you didn't install the Tenyks CLI do not despair: run the following command on your terminal
pip install tenyks-cli🎀 Tip: Double check you are in the right conda env or venv. Perhaps you had previously installed the Tenyks CLI in the past 😀.
1.2 Authenticate your account
Before uploading images and embeddings you need to authenticate your account. Run the following command, and provide your username and your password. For API URLleave it blank, simply click Enter.
tenyks configure

Enter API URL [https://dashboard.tenyks.ai/api]:
Enter tenyks username: [email protected]
Enter tenyks password: ********
2. Upload the dataset
With the appropriate configuration in place, it's time to proceed with uploading your data. Execute the following command:
tenyks dataset-create  --name "medical_dataset" \
                       --images image_folder_path \
                       --annotations annotation_file_path \
                       --class_names class_path
Successfully executing 💯 the previous command produces an output like the example below.
Authenticating...
Authentication successful.
Creating dataset test_cli...
Successfully created dataset with the following key: medical_dataset
Starting images upload..
  [####################################]  100%
Upload finished in 54.75 seconds.
Successfully uploaded 525 images.
Uploading annotations...
Successfully ingested annotations.
Uploading class names...
Successfully ingest class names.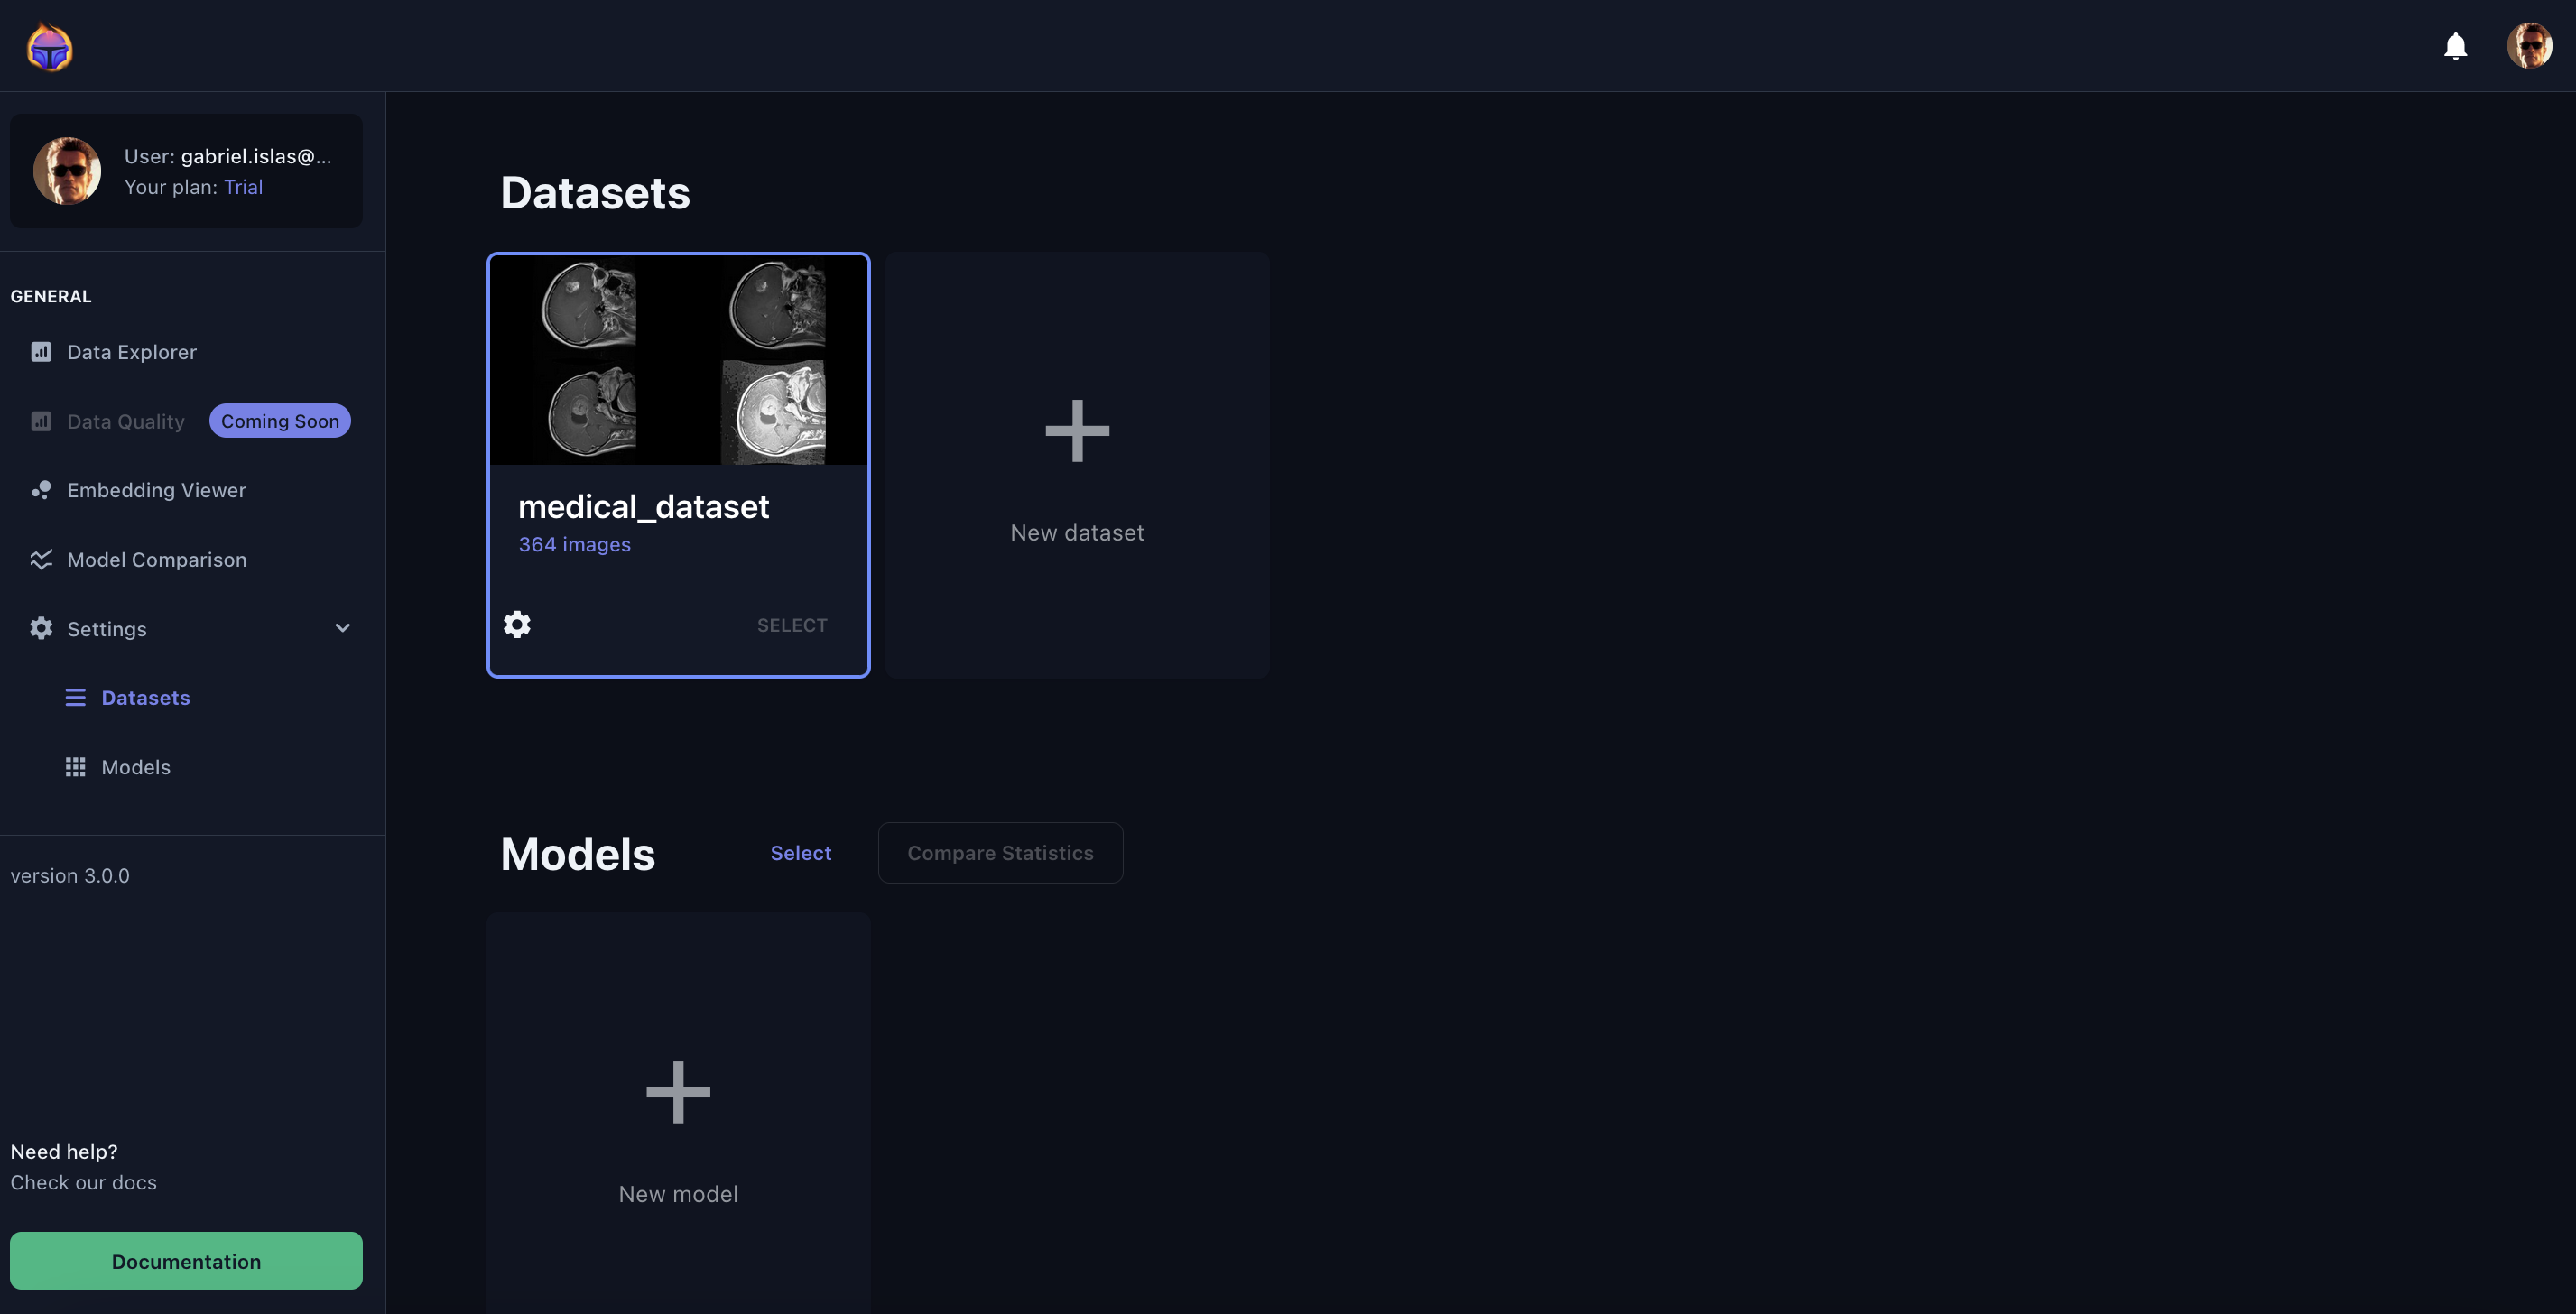
Alternatively, the most frequently encountered error could involve providing an incorrect file path ⚠️.
Authenticating...
Authentication successful.
Creating dataset test_cli...
Successfully created dataset with the following key: medical_dataset
Error: File path /content/{imae_folder_path} does not exist...
🎀 Tip: If you wish to obtain more information on the dataset-create simply run
tenyks dataset-create --help
Usage: tenyks dataset-create [OPTIONS]

Options:
  --name TEXT                     The name of the
                                  dataset to be
                                  created.
  --images TEXT                   The path to
                                  image folder.
  --annotations TEXT              The path to
                                  image
                                  annotation.
  --annotations_format [coco|vott_csv|yolo|deepstream|classification]
                                  The annotation
                                  file type.
...
3. Upload the model
With a dataset already in your dashboard, it's time to proceed with uploading your model predictions. Run the following command:
tenyks model-create --name "yolo_v8" \
                       --dataset_key "medical_dataset"
                       --predictions prediction_file_path
Running the preceding command correctly results in an output resembling the following.
Authenticating...
Authentication successful.
Creating model yolo_v8...
Successfully creating model yolo_v8 with the following key: yolo_v8
Uploading model predictions...
Successfully ingested model predictions.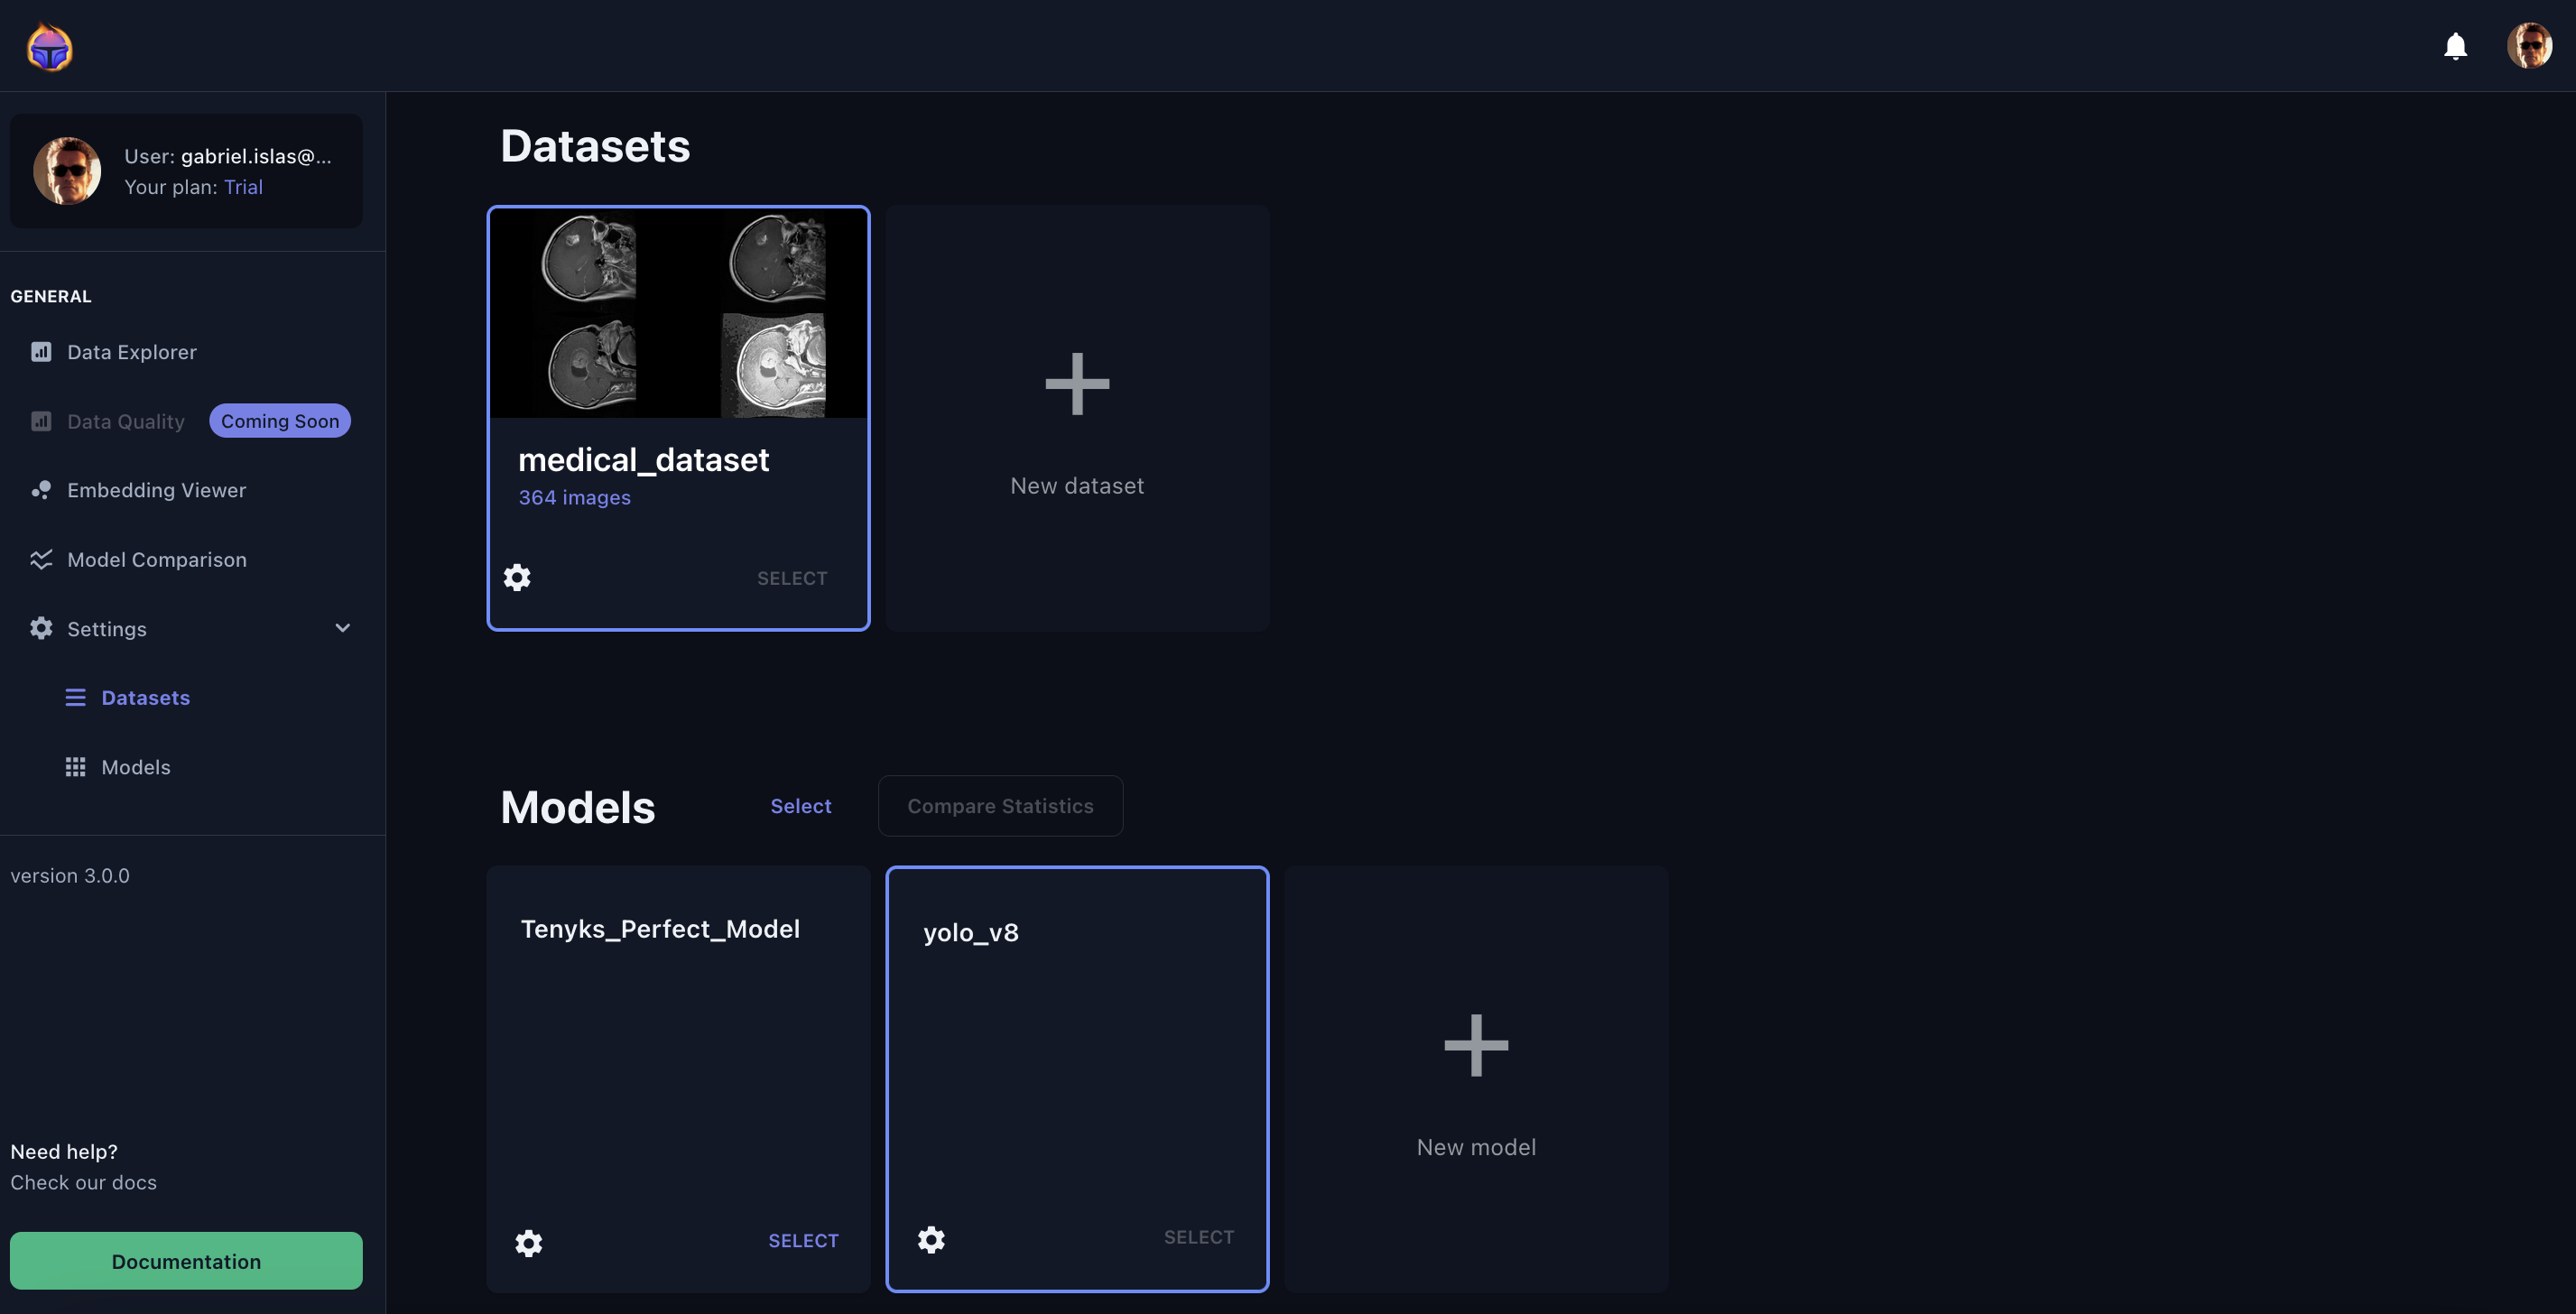
Voila! You have successfully uploaded your model using the Tenyks CLI 😀!
4. Bonus: finding undetected objects!
💖 What about kickstarting right away your search for dataset errors?
In the Tenyks Dashboard, click on your Data Explorer (hint: first select your dataset, then select your model).
Select Error Types in the data explorer menu, and click on False Negative
In seconds you will be able to explore all the undetected objects in your dataset! 👏
Happy dataset debugging! 🐛
Updated over 1 year ago