Adding Custom Metadata
We show you how to add custom metadata both at the object-level and at the image-level
👉 A Colab notebook of this example is available here. 😀
1. Things you need to know (1 min recap)
i. Workspaces
📓 A workspace is where you can create and manage your datasets and models.
- Each workspace can define its own set of users. 🦸 🦹
- By default you're assigned a workspace named "My Workspace".
Using the SDK you can retrieve the workspaces to which you have access, as well as other features such as creating new workspaces! 🚀
Workspace:
- id: unique identifier of the workspace
- name: the name that you provided for the workspace
- key: workspace key
- crated_by: email of the user who created the workspace
- created_at: timestamp of where the workspace was created
- updated_by: most recent user who updated the workspace
- updated_at: timestamp when most recent user updated the workspace
ii. Access token
You need to refresh your access token every 60 minutes. The easiest way to do it is by calling the authenticating function:
auth_params = {
    "api_base_url": "https://dashboard.tenyks.ai/api",
    "api_key": "XYZ",
    "api_secret": "XYZ",
    "workspace_name": "api_key",
}

Tenyks.authenticate_with_api_key(**auth_params)
2. Install the SDK, authenticate and set your Workspace
Note for Colab users: After running pip install tenyks_sdk, you might need to restart the runtime 🎰 IF the following warning message ⚠ shows up:
- 👉
You must restart the runtime in order to use newly installed versions..
!pip install tenyks_sdk

from tenyks_sdk.sdk import Tenyks, Annotation, Category, Tag, display_images
from tenyks_sdk.sdk.cloud import AWSLocation, AWSCredentials, AzureLocation, AzureCredentials, AzureTokenType, GCSLocation
Log in with your API Keys:
- Learn more about where to find your API keys here.
Note: Please, the first time that you authenticate, use your api_key as the value for workspace_name.
auth_params = {
"api_base_url": "<https://dashboard.tenyks.ai/api">,
"api_key": "XYZ",
"api_secret": "XYZ",
"workspace_name": "api_key",
}
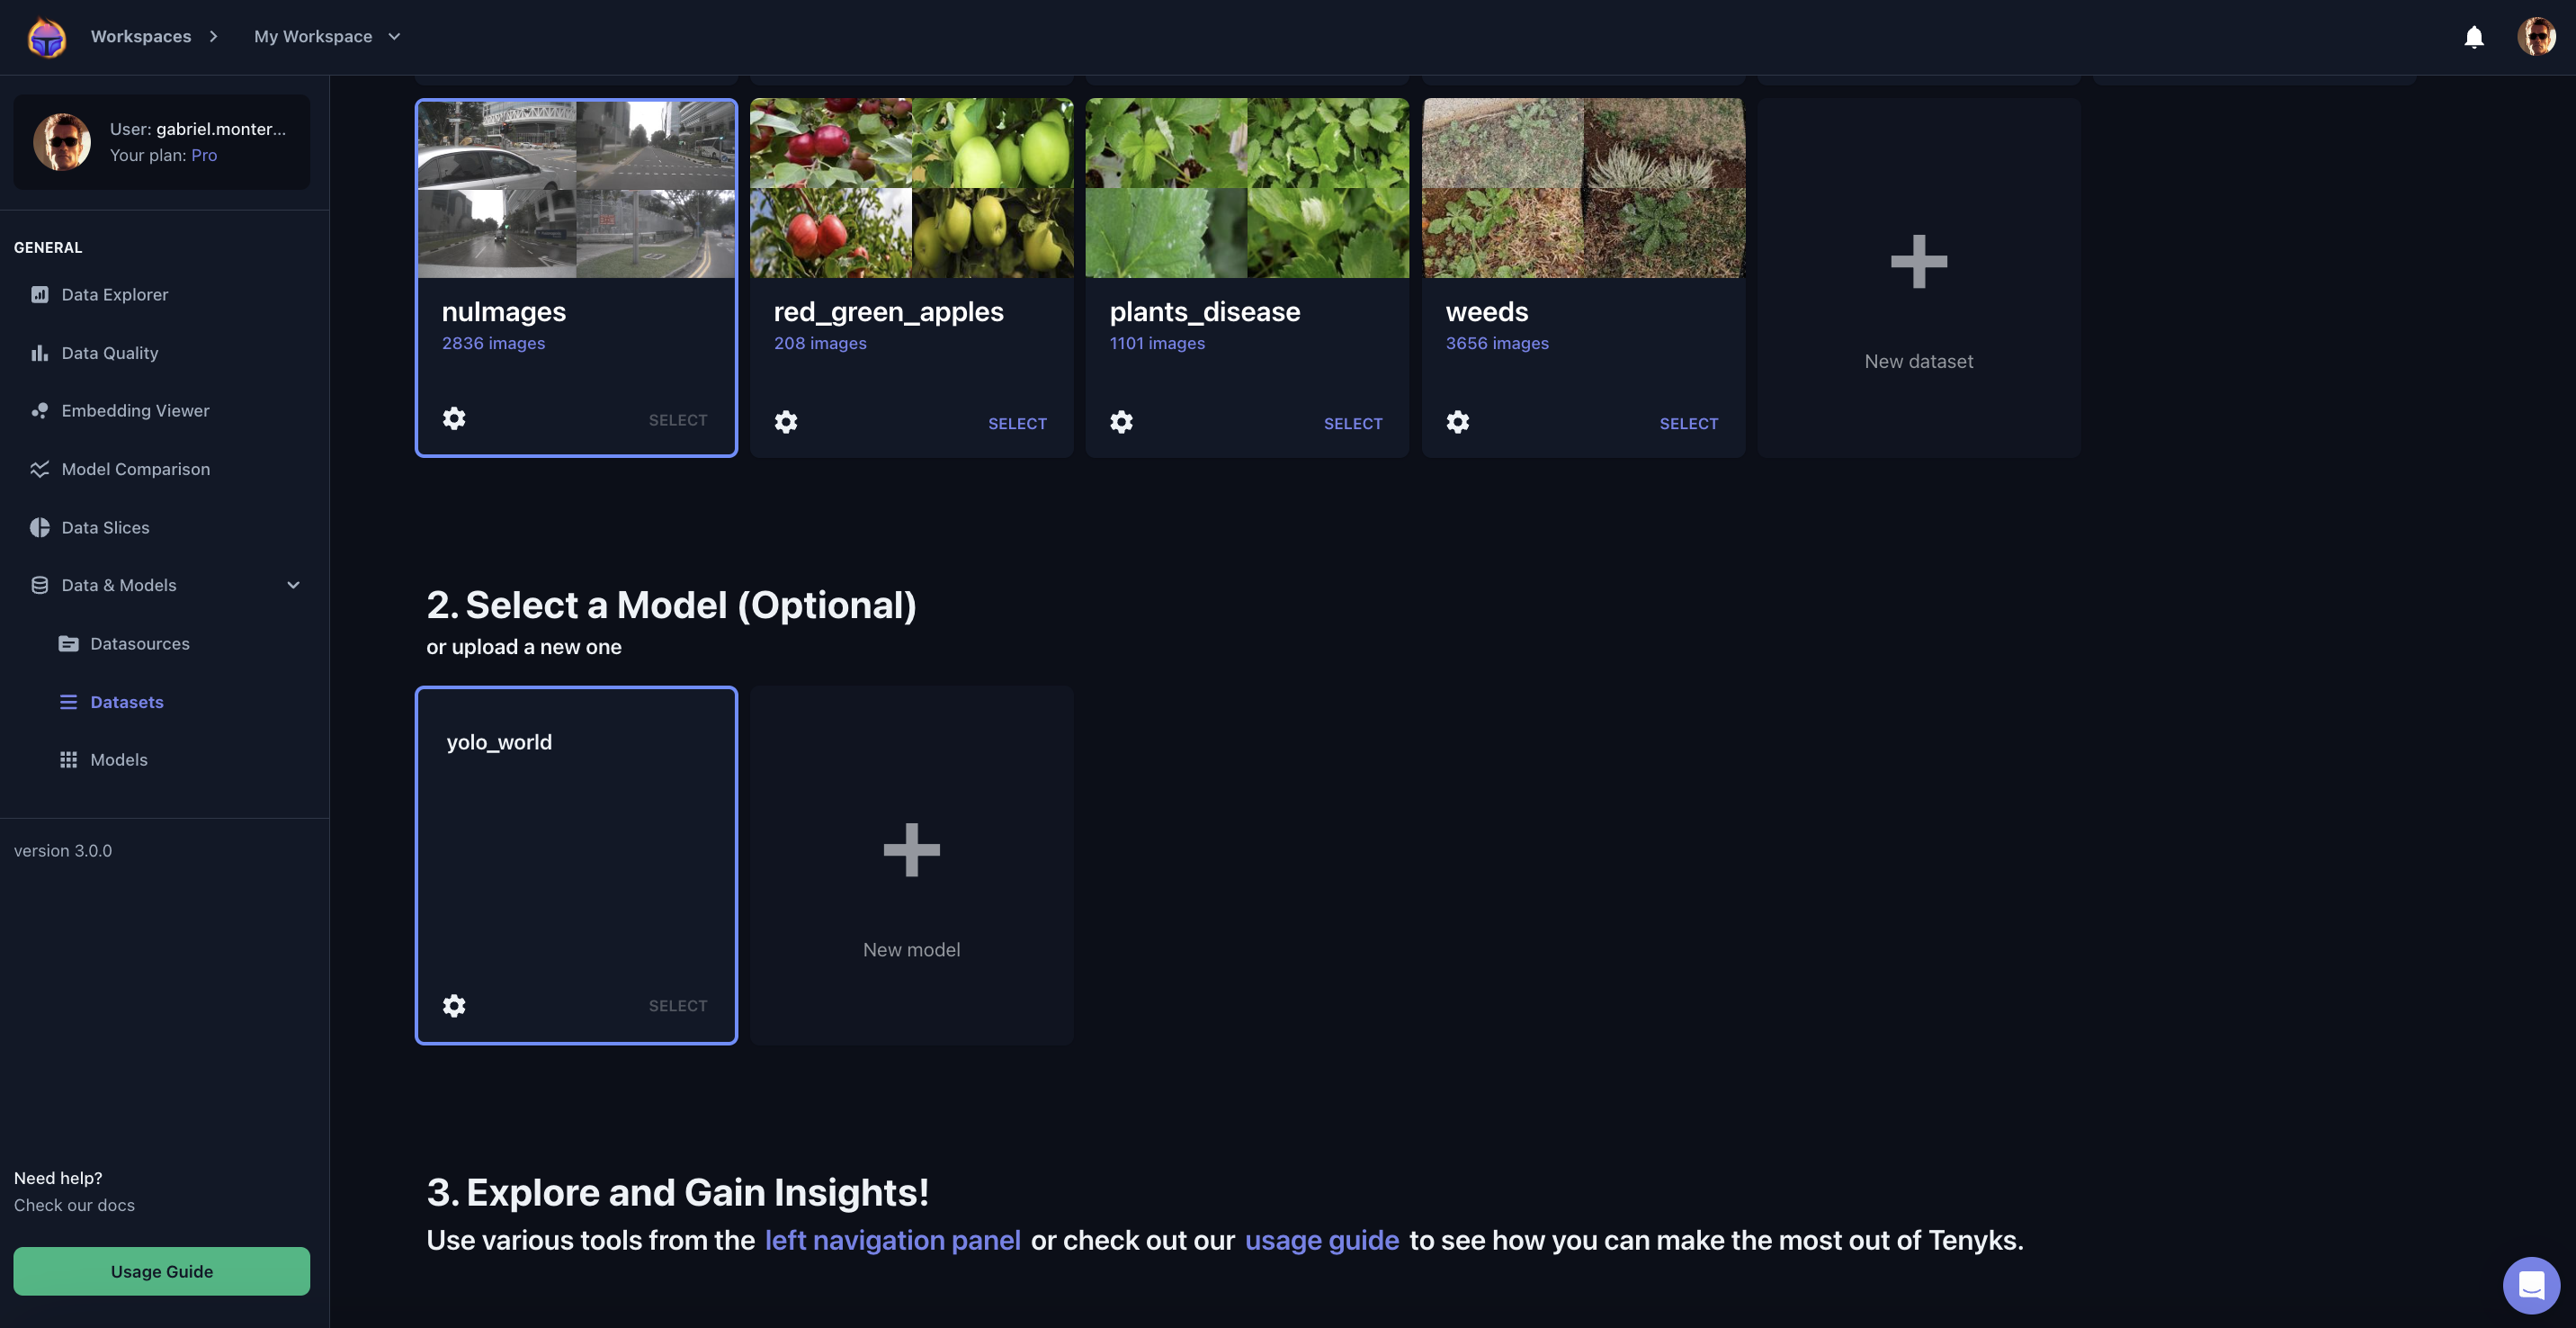
tenyks = Tenyks.authenticate_with_api_key(\*\*auth_params)3. Upload a dataset
We'll create a new workspace to upload a brand new dataset
new_workspace = tenyks.create_workspace("data_workspace")Next, we verify that our newly minted workspace was created 😉 using tenyks.get_workspaces()
tenyks.get_workspaces()Set your workspace
👉 Note that from tenyks.get_workspaces()'s output, we take the key of the newly created workspace.
workspace_key = "data_workspace_976264f4"
tenyks.set_workspace(workspace_key)
Let's create a dataset
Note: Please, follow along by downloading the dataset we use in this example:
We first download the dataset from Google Drive (see link above).
!pip install gdown -q

import os
import gdown
import zipfile

def download_and_extract_from_drive(file_id, output_path="/content"):
    # Create the output directory if it doesn't exist
    if not os.path.exists(output_path):
        os.makedirs(output_path)

    # Download the file from Google Drive using the file ID
    zip_path = os.path.join(output_path, "file.zip")
    gdown.download(f"https://drive.google.com/uc?id={file_id}", zip_path, quiet=False)

    # Extract the ZIP file
    with zipfile.ZipFile(zip_path, 'r') as zip_ref:
        zip_ref.extractall(output_path)

print(f"Files extracted to {output_path}")Note: the text 1CQ_c1mkoxpGEtFpDVtaNzA3ZQ58f9eNF can be found on the URL of the Google Drive link we shared above.
download_and_extract_from_drive("1CQ_c1mkoxpGEtFpDVtaNzA3ZQ58f9eNF") # carsCreate a dataset
dataset = tenyks.create_dataset("cars_colours")Let's upload our images
dataset.upload_images("/content/cars/images")Now, let's upload our annotations
dataset.upload_annotations("/content/cars/annotations.json")Finally, we need to ingest our dataset
dataset.ingest()Yay 🏆!
4. Displaying images
Let's quickly show how we can display images
dataset = tenyks.get_dataset("cars_colours")images = dataset.head()
for img in images:
print(img.key)
""" Output:
pexels-photo-11059369_jpeg_jpg.rf.bd48fbf26107a1f21fb10c9e6d66eb82
black-and-white-1282249_640_jpg.rf.39b6c3e759d37be2e27f703e1882c4b4
car-4691378_640_jpg.rf.b592570f995ad0af50c03e20a73dd545
ferrari-1903603_640_jpg.rf.8d96da37f5a1bbb830a7ab58f4dbd113
old-2832130_640_jpg.rf.9652441048256e0d8cc49516f4fb9ffd
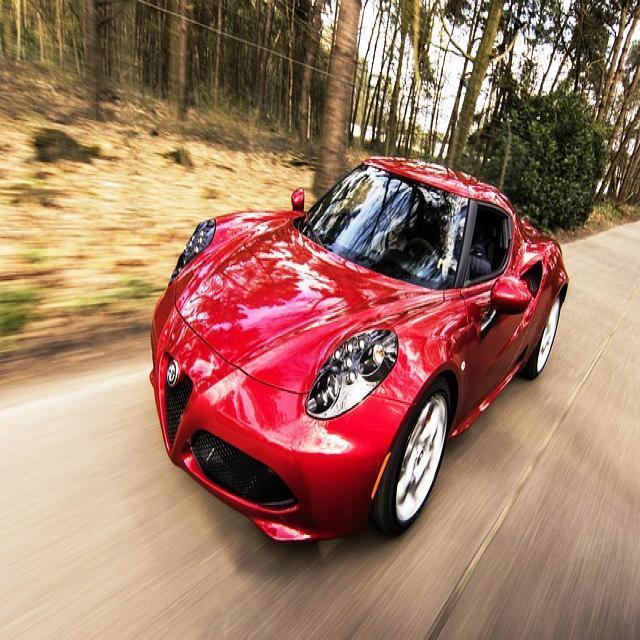
"""image = dataset.get_image_by_key("pexels-photo-11059369_jpeg_jpg.rf.bd48fbf26107a1f21fb10c9e6d66eb82")
display_images([image], draw_bboxes=True)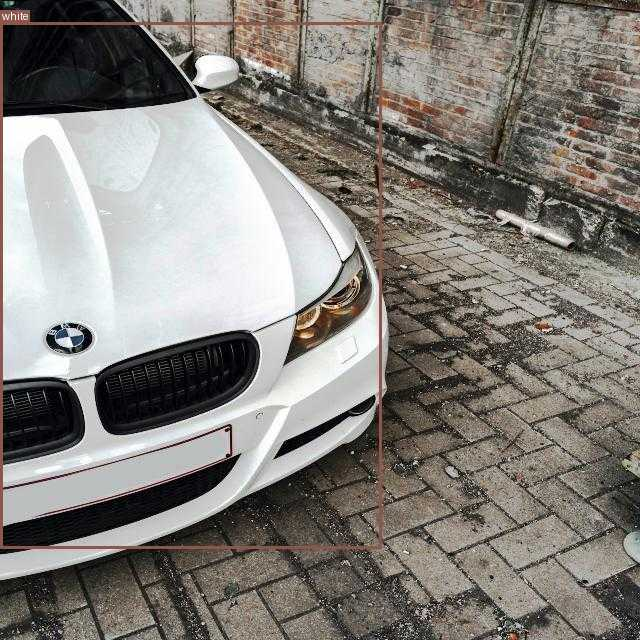
5. Search
Let's quickly show the basics of search:
- First, we list the categories in our dataset
- Then, we'll conduct search using vector embeddings
Let's get the categories (i.e., classes):
for category in dataset.categories:
  print(category)

""" Output
name='cars color' color='#1F77B4' id=0
name='black' color='#FF7F0E' id=1
name='blue' color='#2CA02C' id=2
name='green' color='#D62728' id=3
name='red' color='#9467BD' id=4
name='white' color='#8C564B' id=5
name='yellow' color='#E377C2' id=6
"""
5.1 Text search
- The query, in text form, is run over all the image embeddings in your dataset.
👉 Let's search for something that is NOT annotated, say "Taxis". There's NO category (i.e., label) for Taxi but we expect the system will be capable enough to retrieve a car that resembles a Taxi.
search_result = dataset.search_images(
    sort_by="vector_text(taxi)",
)
As shown below, the highest ranked result is a Taxi. 🚕
A lager car dataset, ours is just 60 images, would definitively contain more Taxis.
display_images(search_result, n_images_to_show=4, draw_bboxes=True)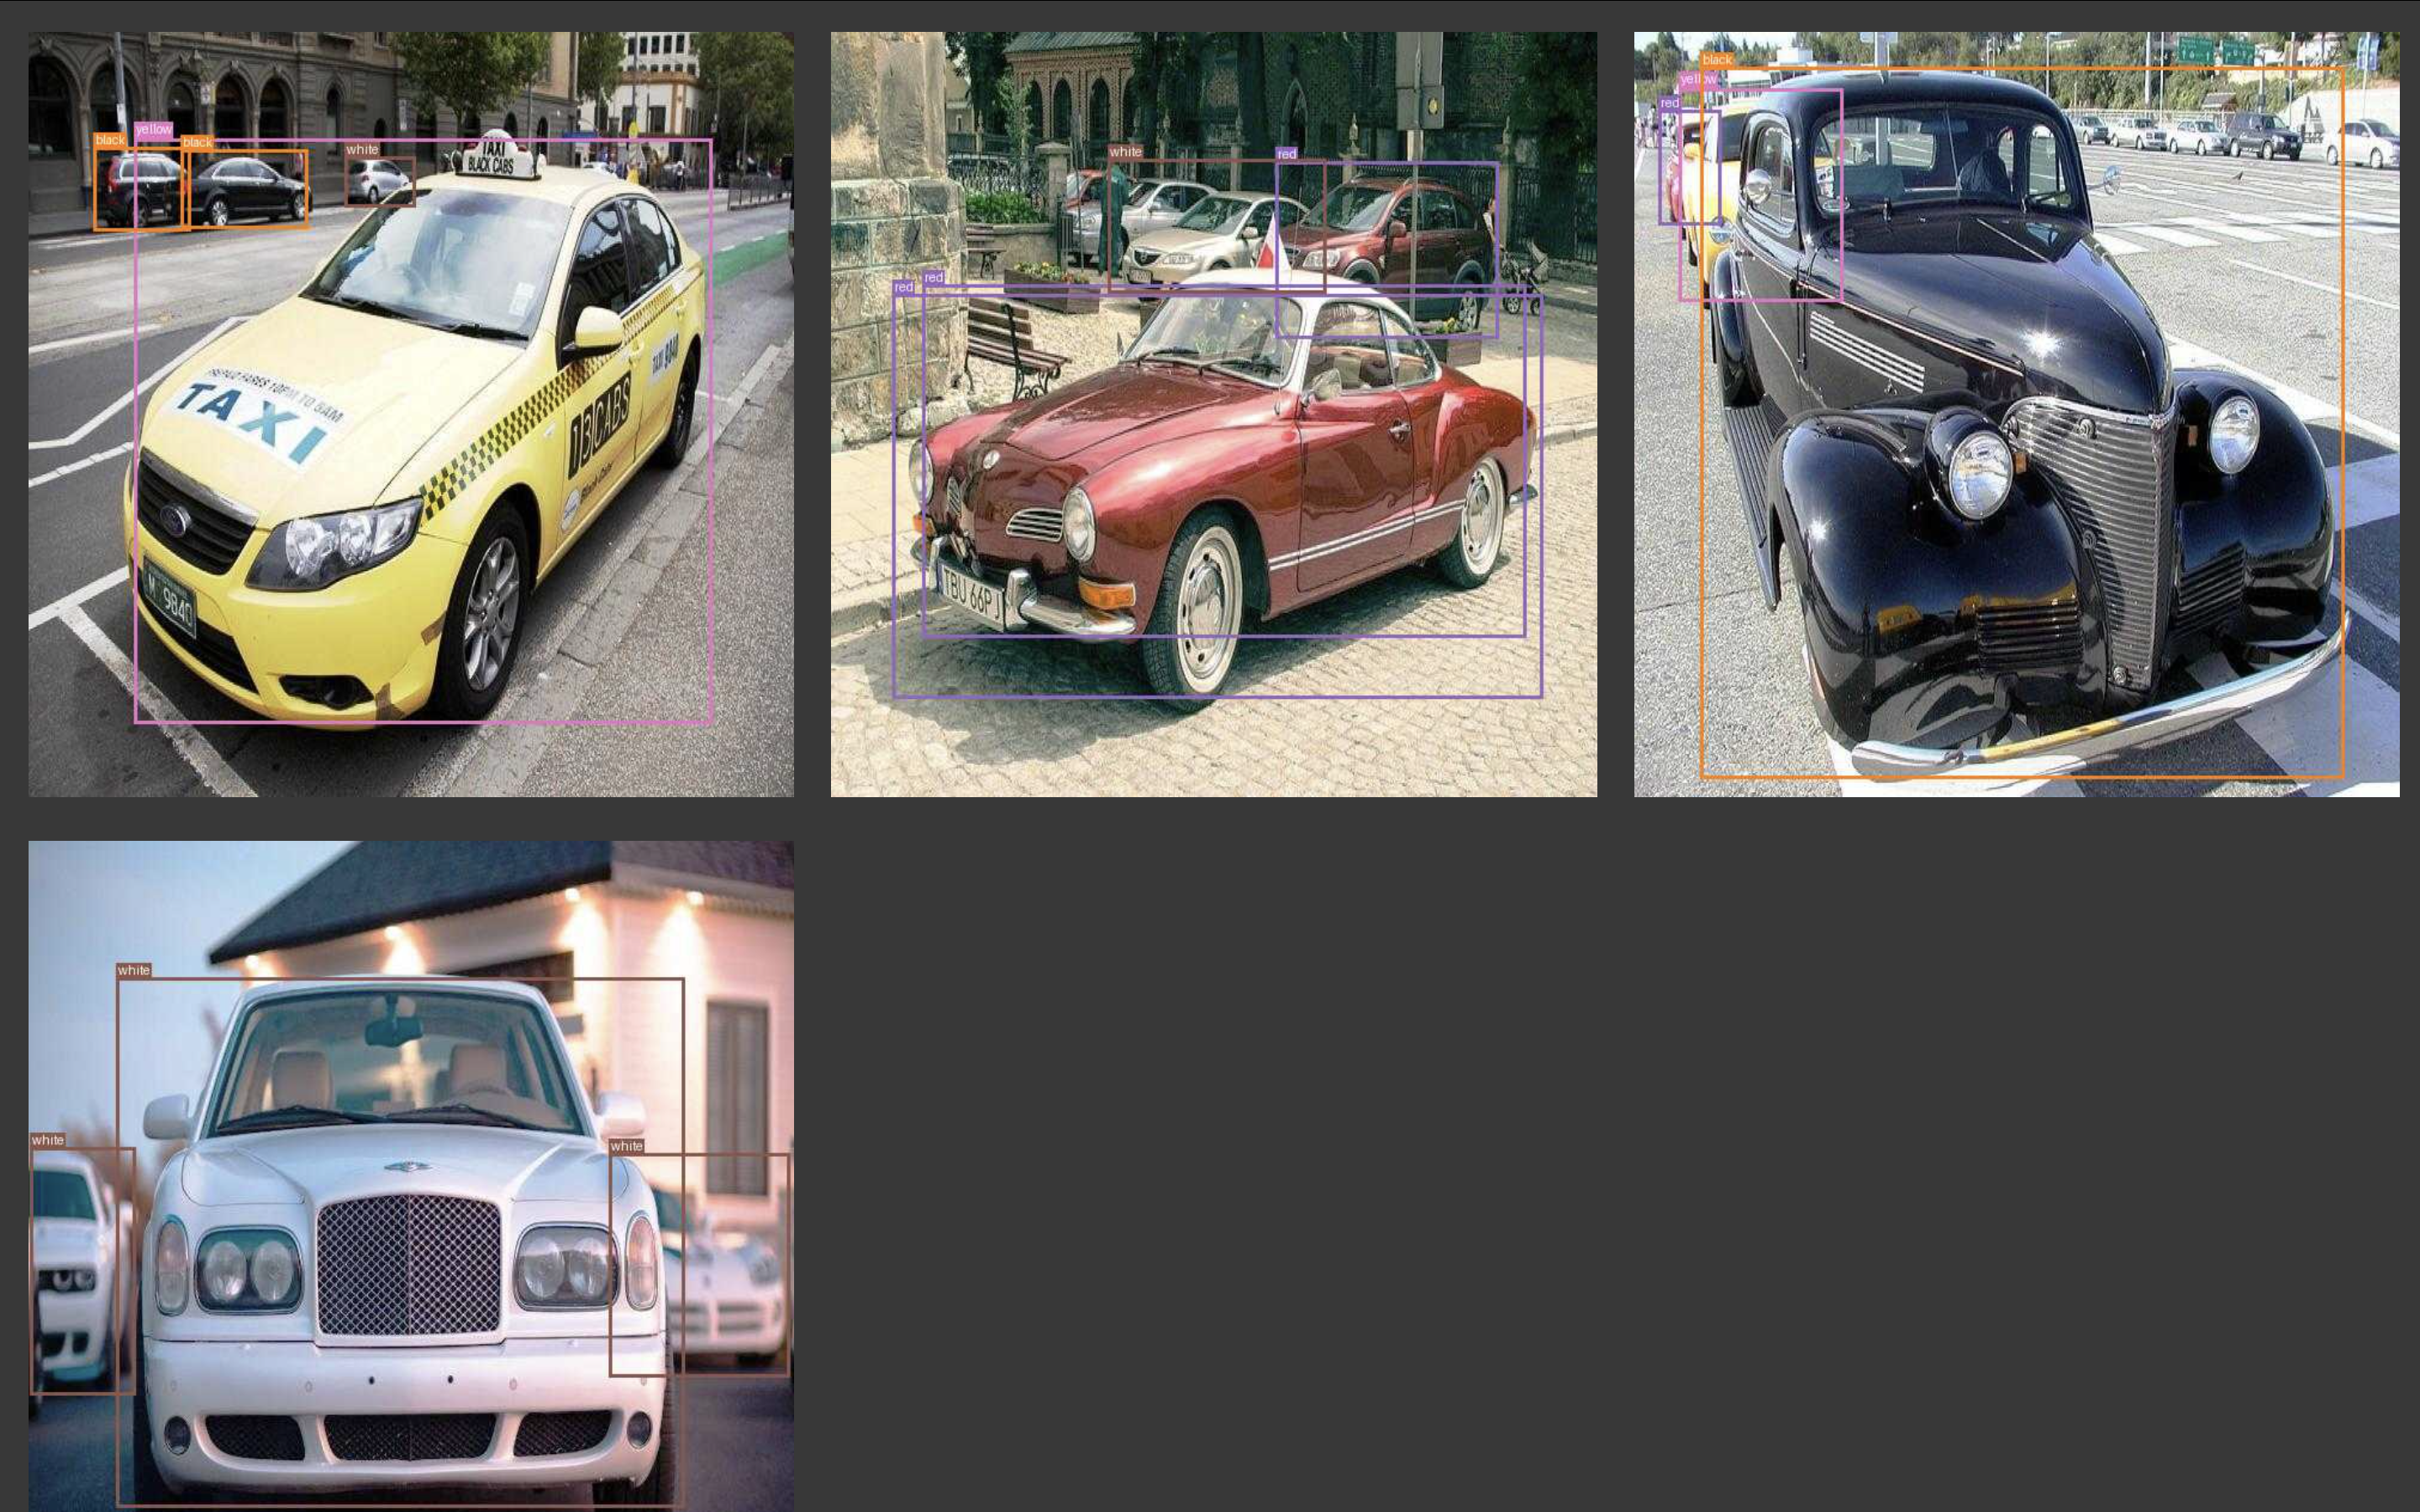
Learn more about Similarity Search here.
6. Custom Image Metadata
Why adding metadata to our images? 🤔
✅ There are a few good reasons (and many more):
-
You can easily filter or sort images based on specific criteria (e.g., all red cars 🚗🔴, cars with high edge density 🔍, or cars of a certain size range 📏) without processing the images again.
-
Having properties such as "Aspect Ratio" (ratio of width to height of the bounding box) 📐 readily available allows for quick statistical analysis of your dataset 📊. You can easily generate distributions, correlations, or other insights about the cars in your dataset 🧮🚙.
-
Unusual property values (e.g., extremely high brightness ☀️💡 or unusual aspect ratios 🔲↔️↕️) can be quickly identified, which might indicate interesting cases 🧐 or potential errors in the dataset ⚠️.
To store metadata:
- provide a dictionary with the metadata you want to add using this format:
{image_key: metadata_value}:
custom_metadata = {
    "sports-car-6282703_640_jpg.rf.9582df1186a4f4": 0.5
    ...
}- add the metadata to the dataset:
dataset.save_image_metadata("metadata_name", custom_metadata)🔎 You can search (using the new metadata) in either the Tenyks web app or by using the SDK's search_images method.
Let's see how this works in practice but first we need to install open-cv:
!pip install opencv-python-headless -q6.1 Object-level custom metadata
We'll compute some properties to use them as metadata:
- Size/Area:
- Using the bounding box coordinates, calculate the area of the car in pixels.
- This could indicate the relative size of the vehicle or its proximity to the camera.
- Aspect Ratio:
- Compute the ratio of width to height of the bounding box.
- This can help distinguish between different vehicle types (e.g., trucks tend to be longer than they are tall).
- Edge Density:
- Apply edge detection (e.g., Canny edge detector) within the bounding box.
- Calculate the ratio of edge pixels to total pixels, which can indicate the complexity of the car's design.
import cv2
import numpy as np
from tenyks_sdk.sdk.utils import download_image

def analyze_car_from_bbox(image_url, bbox):
    """
    Analyze car properties using bounding box coordinates in COCO format.

    :param image: Full image containing the car (numpy array)
    :param bbox: List of [x, y, width, height] defining the bounding box in COCO format
    :return: Dictionary of computed properties
    """

    image = download_image(image_url)

    x, y, w, h = bbox
    car_image = image[int(y):int(y+h), int(x):int(x+w)]

    # 1. Size/Area
    area = w * h

    # 2. Aspect Ratio
    aspect_ratio = w / h

    # 3. Edge Density
    edges = cv2.Canny(car_image, 100, 200)
    edge_density = np.sum(edges) / (w * h)

    return {
        "area": area,
        "aspect_ratio": aspect_ratio,
        "edge_density": edge_density
    }
To keep things simple, we'll first do one simple example, then we'll loop over the entire dataset.
image_test = dataset.get_image_by_key("ferrari-1903603_640_jpg.rf.8d96da37f5a1bbb830a7ab58f4dbd113")

display_images([image_test], draw_bboxes=True)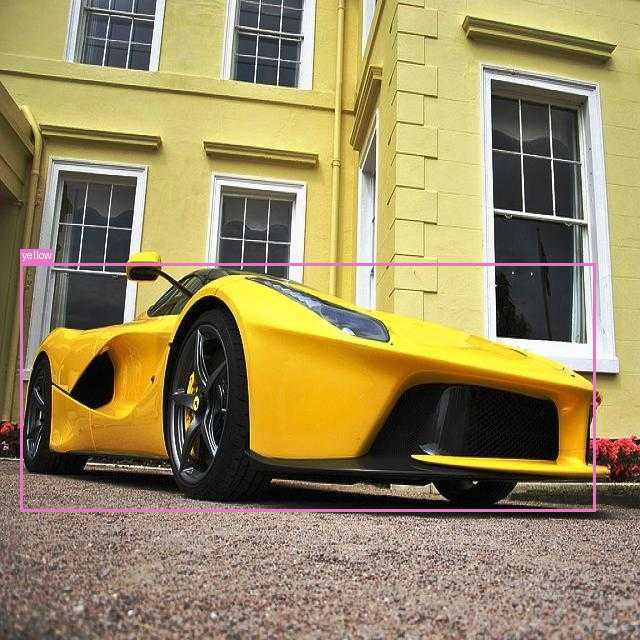
image_test.annotations

""" Output
[Annotation(coordinates=[20.0, 263.0, 575.0, 248.0], category=Category(name='yellow', color='#E377C2', id=6), id='89bedc6ea4441259bb36e22e7c23bc34107ba526e8237058fea192c8', segmentation=[], tags=[])]
"""bbox = image_test.annotations[0].coordinates
results = analyze_car_from_bbox(image_test.raw_image_url, bbox)
results
""" Output
{'area': 142600.0,
'aspect_ratio': 2.318548387096774,
'edge_density': 27.556451612903224}
"""Great, now let's apply this to our entire dataset
search_generator = dataset.images_generator()In our case, we'll only add the area
metadata_dict = {}
for i, image in enumerate(search_generator):
    for annotation in image.annotations:
      results = analyze_car_from_bbox(image.raw_image_url, annotation.coordinates)
      print(f"Image {i}: {results}")
      metadata_dict[image.key] = results["area"]

""" Output
Image 0: {'area': 262216.0, 'aspect_ratio': 1.3006681514476615, 'edge_density': 48.19808859871251}
Image 1: {'area': 107570.0, 'aspect_ratio': 1.1193548387096774, 'edge_density': 47.86139258157479}
Image 1: {'area': 66560.0, 'aspect_ratio': 1.015625, 'edge_density': 49.91579026442308}
Image 2: {'area': 66850.0, 'aspect_ratio': 2.182857142857143, 'edge_density': 35.45968586387435}
Image 3: {'area': 139432.0, 'aspect_ratio': 2.5905172413793105, 'edge_density': 50.78346434104079}
Image 4: {'area': 142600.0, 'aspect_ratio': 2.318548387096774, 'edge_density': 27.556451612903224}
Image 5: {'area': 210425.0, 'aspect_ratio': 1.072234762979684, 'edge_density': 27.272306047285255}
Image 5: {'area': 28237.0, 'aspect_ratio': 0.8074866310160428, 'edge_density': 18.50391330523781}
Image 5: {'area': 18216.0, 'aspect_ratio': 0.4251207729468599, 'edge_density': 18.128293807641633}
Image 6: {'area': 71811.0, 'aspect_ratio': 1.2784810126582278, 'edge_density': 27.797134143794125}
Image 7: {'area': 166848.0, 'aspect_ratio': 0.4177215189873418, 'edge_density': 24.17829401611047}
Image 7: {'area': 141159.0, 'aspect_ratio': 0.3522906793048973, 'edge_density': 28.339957069687372}
Image 8: {'area': 303405.0, 'aspect_ratio': 1.0521415270018621, 'edge_density': 29.673307954713994}
...
Image 59: {'area': 138684.0, 'aspect_ratio': 2.1496062992125986, 'edge_density': 41.04557843731072}
"""
Finally, let's save the metadata
dataset.save_image_metadata("area", metadata_dict)6.2 Image-level custom metadata
Now, we'll add as metadata the brightness score of a given image.
def compute_brightness_score(image_url: str) -> float:
    """Computes the normalized brightness score for an image from a URL.

    The score is between 0 and 1, where 0 means the image is completely dark,
    and 1 means the image is completely bright.
    """
    # Download the image
    image = download_image(image_url)

    # Convert the image from BGR to grayscale
    gray_image = cv2.cvtColor(image, cv2.COLOR_BGR2GRAY)

    # Compute the mean pixel value (brightness)
    brightness = gray_image.mean() / 255.0

return brightnesssearch_generator = dataset.images_generator()metadata_dict = {}
for i, img in enumerate(search_generator):
image_brightness_score = compute_brightness_score(img.raw_image_url)
print(f"Image {i}: {image_brightness_score}")
metadata_dict[img.key] = image_brightness_scoredataset.save_image_metadata("brightness", metadata_dict)Updated over 1 year ago