Embedding Viewer
The Embedding Viewer is a tool for visualizing high-dimensional data in a lower dimensional space.
The Embedding Viewer allows users to explore, analyze, and understand high-level patterns of the dataset. It achieves this by projecting the high-dimensional vector embeddings of the images onto a visually interpretable, lower-dimensional space as shown in the figure below.
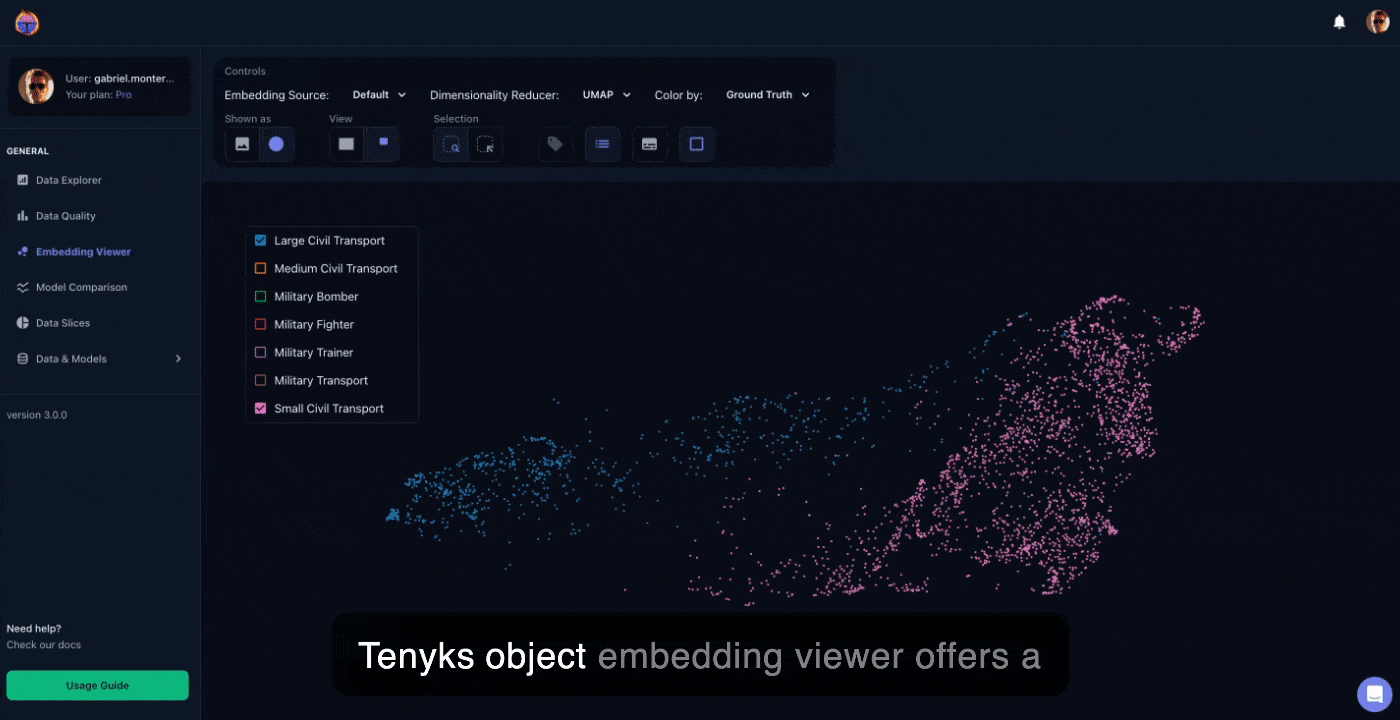
Figure 1. The Embedding Viewer used to analyze an airplanes dataset
1. General features
- We provide two kinds of visualizations:
- Image: An embedding is extracted for every image in the dataset.
- Object: An embedding is extracted for every object. Each image might contain one or more objects.
- We offer three techniques to generate the embeddings visualizations:
| Technique | Definition | When to use it |
|---|---|---|
| t-SNE | Non-linear technique preserving local structure | Use for quick, linear dimensionality reduction when efficiency is key |
| PCA | Linear technique capturing maximum variance | Best for visualizing clusters in smaller datasets where local neighbourhood preservation is crucial |
| UMAP | Non-linear technique preserving local and global structure | Ideal for large datasets, offering a balance between local and global structure preservation with faster computation than t-SNE |
- Both the Image and the Object view let you:
- Define the number of visual samples using the
subsamplingrange (see Figure 2). - Control the size of samples' tiles with the
tile sizerange (see Figure 2).
- Define the number of visual samples using the
👉 To access the Embedding Viewer, click on the "Embedding Viewer" option in the left sidebar menu of the screen. Our default embedding model is CLIP, you can contact sales ([email protected]) to upload your own custom model embeddings.
2. Image level embeddings
By default the Embedding Viewer shows you the embedding space based on images (see Figure 2).

Figure 2. The Image-level Embedding Viewer showing red apples on the left and green apples on the right
3. Object level embeddings
Toggle between Image and Object view to obtain an embedding map composed of all the objects in your dataset (see Figure 3).

Figure 3. Object-level embeddings: switching from Image to Object view and from Points to Images
4. Show or hide annotations & confidence thresholds
As shown in Figure 4, you can quickly show or hide confidence thresholds as well as intersection over union (IOU) ratios. Similarly you can show or hide the object labels.
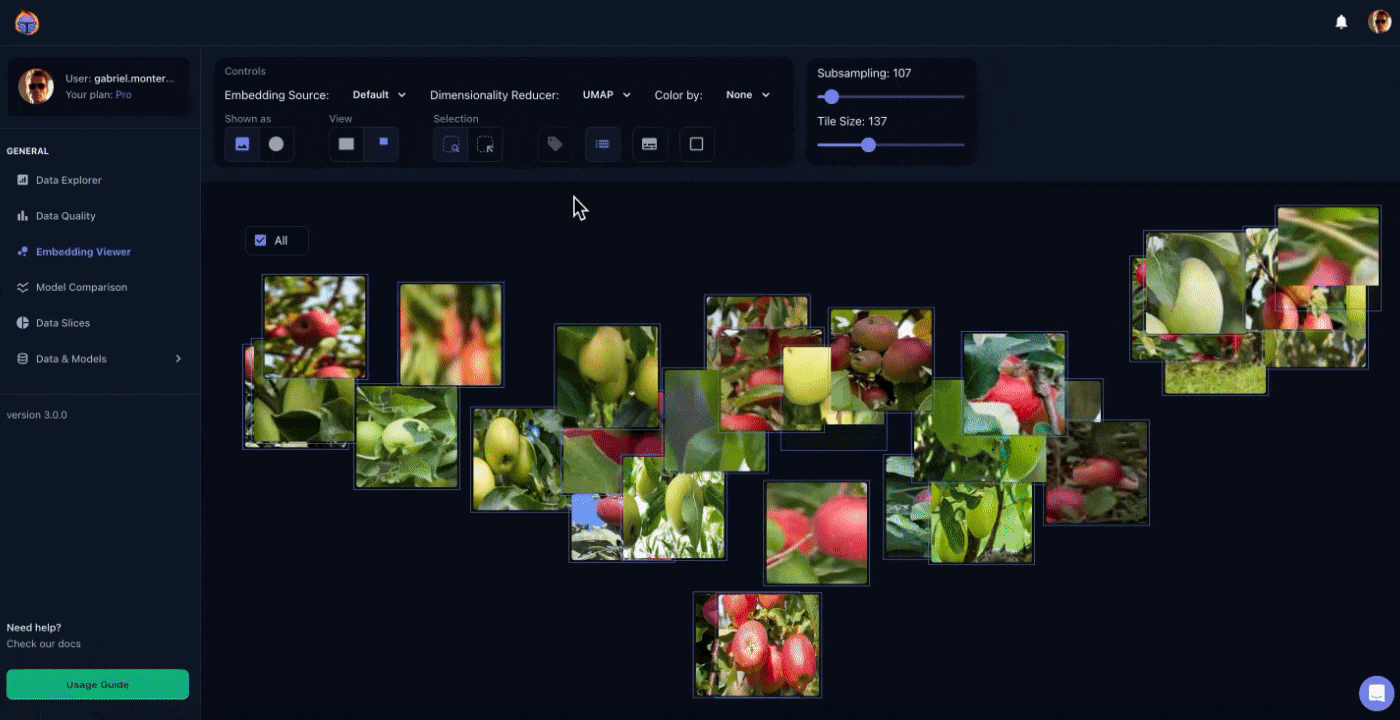
Figure 4. Quickly show or hide confidence intervals, IOU ratios as well as object labels.
5. Color the embedding space using tags
In Tenyks, tags are labels assigned to categorize related items, such as images and objects. After tagging your data, you can use these groups to color the embedding space based on the given tags.
In Figure 5 we have created a tag named month that contains values describing different sets of monthly crops: april, may, etc. We can use this tag to color the samples that belong to each tag value.
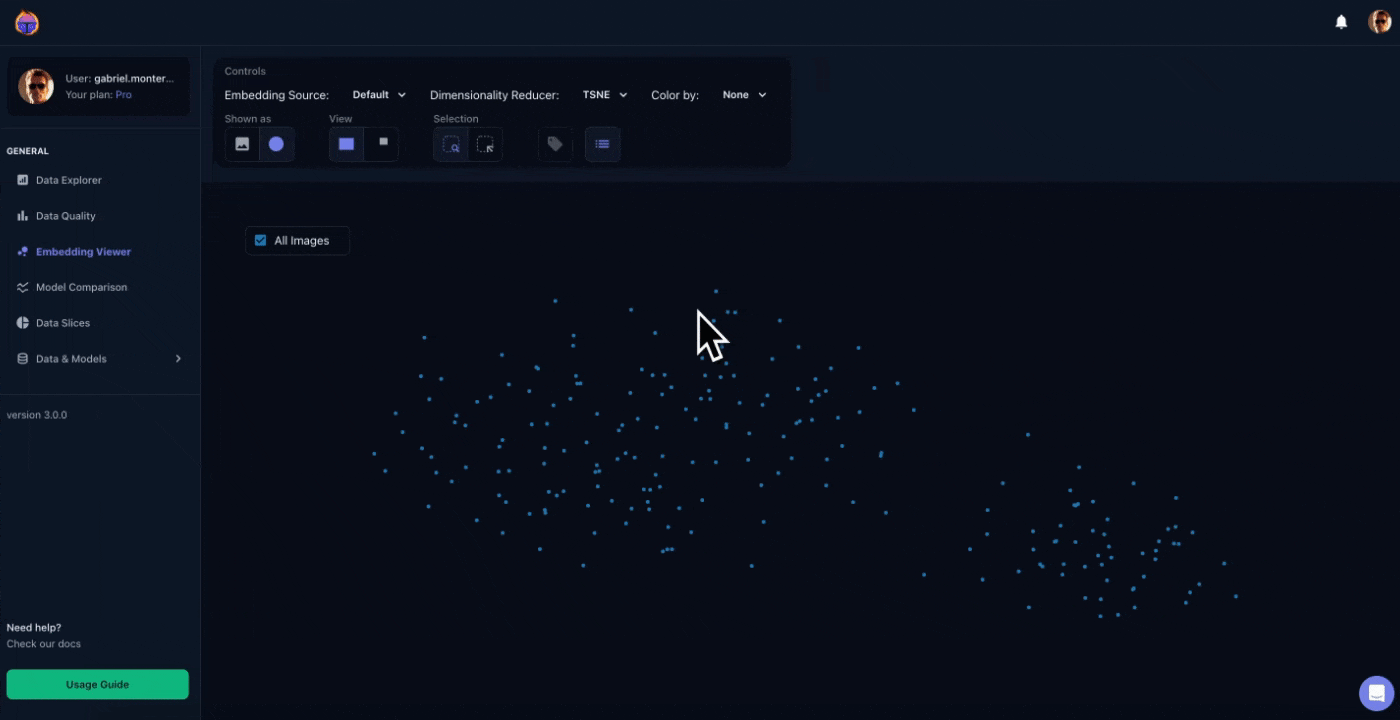
Figure 5. Colouring the embedding space based on the tag month for values april and may
👉 Explore more about tags here.
6. Tagging objects using the Embedding Viewer
Figure 6 describes how to select samples using the Selection tool in the Embedding Viewer. For the selected samples, you can create tags.
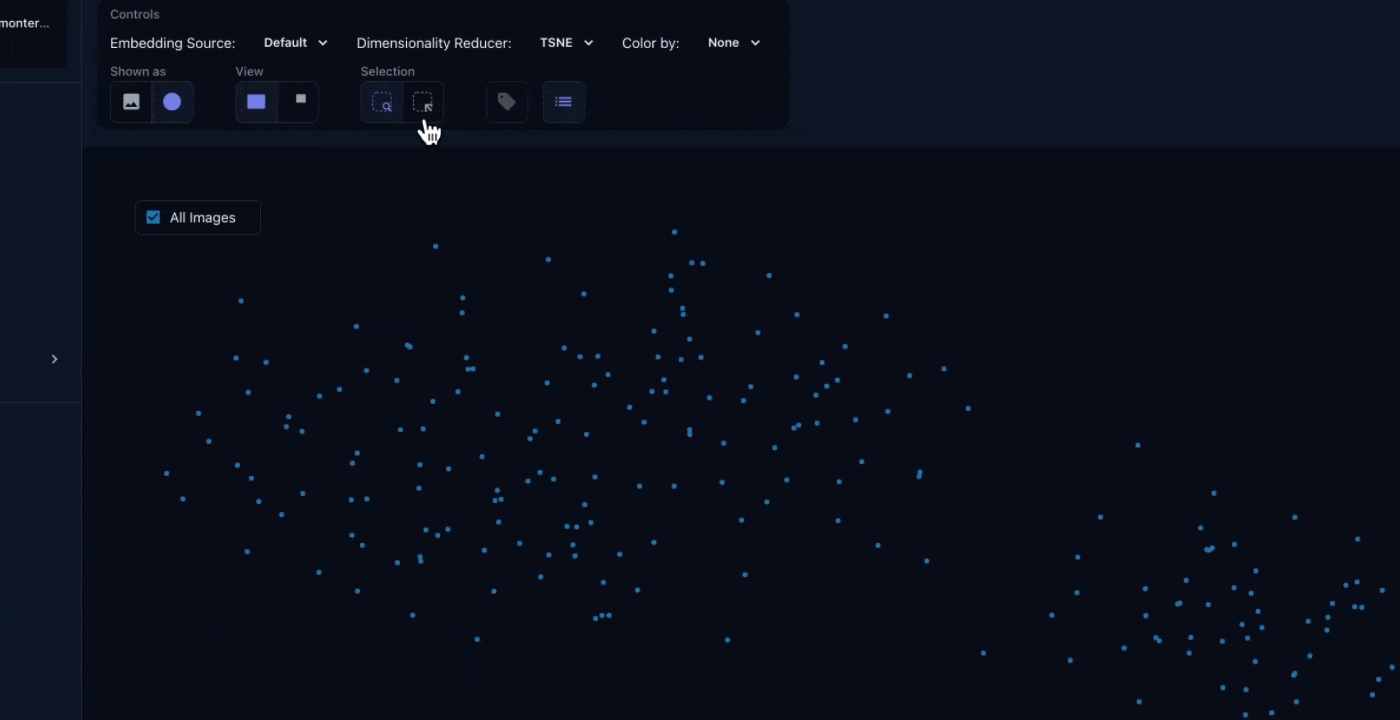
Figure 6. Samples in the middle of two clusters are selected and tagged
Updated over 1 year ago